Make a statement with texture
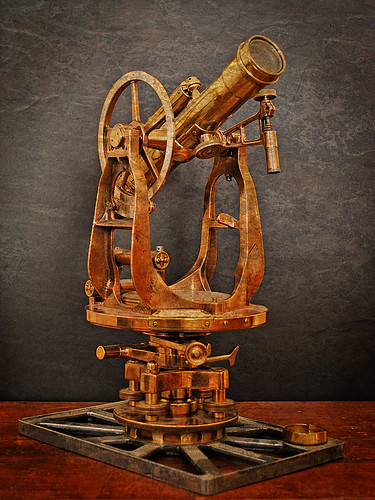 Adding texture to a photograph is easy if you have a photo editing program that supports layers. I added a texture to a photograph of a surveyor's transit to emphasize the ant
I started with a straightforward photo of the transit, part of a friend's large collection of antiques. Daylight from nearby windows lit the piece, and a sheet of black foam board was placed behind the transit to provide a backdrop. The original photo is shown to the right.
The texture was provided courtesy of a 12"x12" piece of faux slate vinyl floor tile, which I picked up for 75 cents at Home Depot. I took a quick photo of the vinyl tile near a window in my garage .

Opening the transit and tile photos in Photoshop Elements 6.0, I copied the tile photo and pasted it over the transit photo, creating a layer. I selected "Multiply" to blend the tile into the transit photo, then adjusted the opacity of the layer to my liking - about 70% in this instance.
I then adjusted the lighting levels, added a vignette and sharpened the photo to finish it off.
Photos © 2009 James Jordan.
Labels: Post-processing
posted by James at
8:33 AM
![]()
![]()


0 Comments:
Post a Comment
Subscribe to Post Comments [Atom]
<< Home