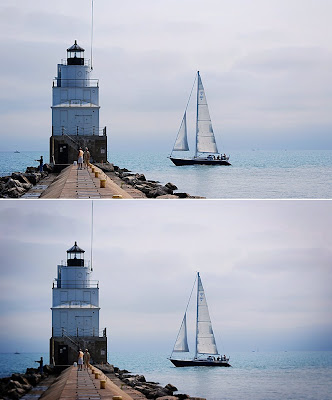
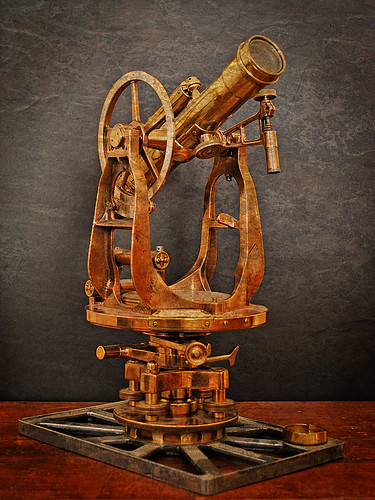
Adding a vignette to photographs
 Digital cameras have greatly advanced even an amateur photographer's ability to capture sharply focused images - sometimes too sharply focused. Back in the days when film photography was the only game in town, there were a lot of camera lenses that couldn't focus across the entire area of the film, leaving photos dark and a bit blurry at the edges and corners. Sometimes a lot dark and blurry.
For those times when you want to subtly age your photos or even emphasize a certain part of the picture, you can simply add a vignette via a photo editing program like Adobe Photoshop Elements, which retails for around $80.
To create a vignette, use the Elliptical Marquee Tool to select nearly the entire photo. Feather the selection (240 pixels on a 10 megapixel image works well, use less feathering for smaller images), then invert the selection. Go to Enhance/Adjust Lighting/Levels and slide the right Output Level slider to the left, which will darken the edges of the photo slightly. You can then add some soft blur (Filter/Blur/Gaussian Blur) to your liking.
Photos © 2009 James Jordan.
Labels: PhotoShop, Post-processing


