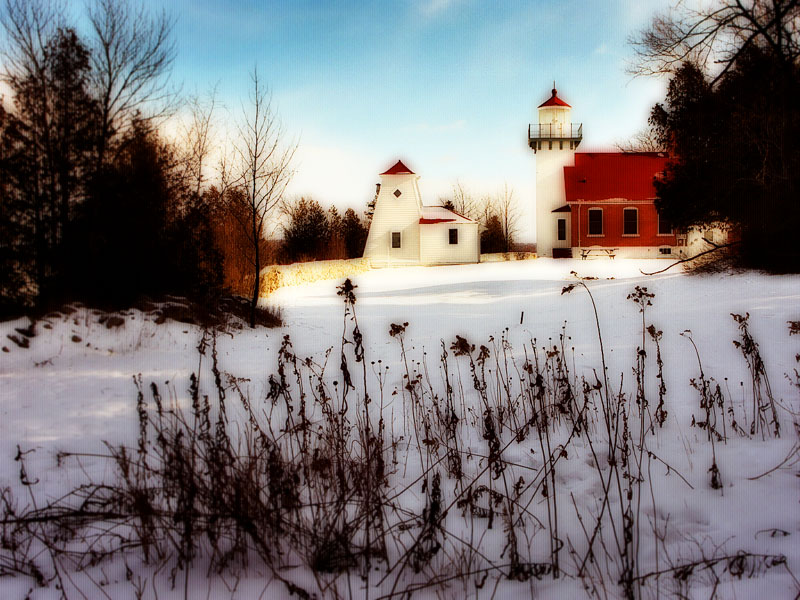
A flower for you!

I'm giving away virtual flowers at my photo blog, Points of Light. Just click on the picture for more information how you can get yours and spread this meme throughout the blogosphere!
Happy Spring!
Take better pictures, no matter what type of camera you own

 attention of your viewer.
Labels: Composition, Shot planning
 Here’s a quick setup for taking some very impressive photos indoors. I set up a table near a window (make sure it’s not getting direct sunlight) and create a background of colored paper purchased from a craft/hobby store. I then use a piece of white poster board or foam board to reflect some light into the shadow side of the subject. The top photo shows the setup with an antique camera given to me by my wife’s father. The lower photo shows the finished image taken with a digital point-and-shoot camera (a Kodak Easy Share C633).
 The result is soft light in a low-key ratio that even the point-and
Hints for using this setup with a digital point-and-shoot: Use a tripod. Depending on the brightness of the day, the exposures will be fairly long. A tripod will make sure the camera is held steady throughout the exposure. Use the self timer. I set the timer for ten seconds. This gave me enough time to press the shutter button, then position the posterboard reflector before the shutter opened. I found I got sharper results when using the center-weighted autofocus function. I also set the ISO to 80, but you should play around and note the results that changes of ISO settings create.
This setup also works well for portraits consisting of one or two people. For a head-and-shoulders shot, seat the subject(s) near the window and prop the poster board (or have an assistant hold the board) to cast reflected light into the shadow side of the face(s).
And did I mention you should use a tripod?
Click on pictures to enlarge. Photographs © 2007 James Jordan.
Labels: Lighting